


Quick Answer
Knowing how to plan a destination elopement comes down to working in sequence rather than all at once. Choose a location and season first, since those decide access, travel time and weather. File any park or permit paperwork early, because protected sites carry long lead times. Book a photographer who knows the terrain, then build a realistic day-of timeline. That order keeps the whole process calm.
Introduction
A quiet alpine lake or a glacier ridge can require permits filed months ahead, and skilled mountain photographers often book two to three years out. That gap between the dream and the paperwork is where stress creeps in, and it is exactly what a clear sequence prevents. The whole point of knowing how to plan a destination elopement is to put the slow-moving pieces first, so nothing forces a compromise later.
Order matters more than any single decision here. Your setting decides the season, the season decides how you travel and travel decides which vendors you can realistically reach. Couples planning an adventure-focused destination elopement in the Canadian Rockies tend to lock their photographer and their date together, because in high-demand terrain the two are hard to separate. Get that foundation right, and the rest of the plan falls into place without a scramble.
Choosing Your Location and Season First
Where you marry and when you marry are bound together. Settle both early and every later choice, from flights to footwear, lands in a sensible order.
Matching the Landscape to Your Vision
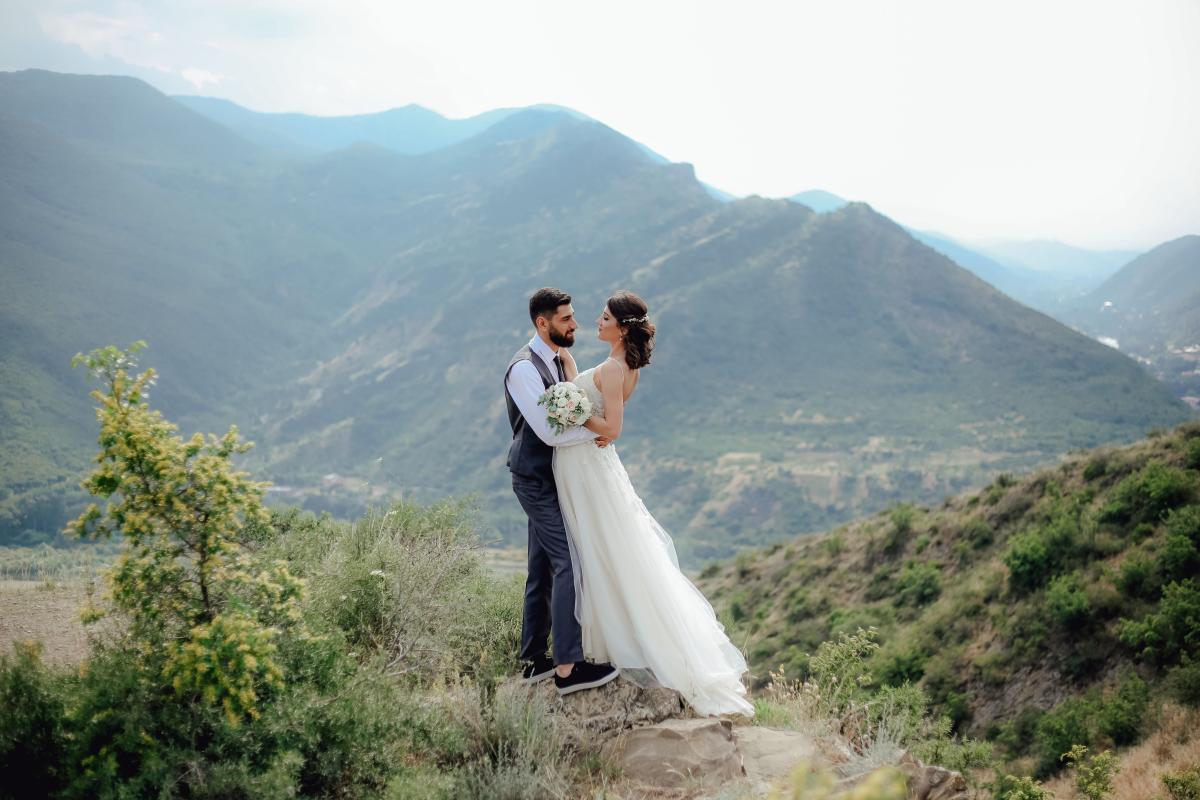
Start with the feeling you want on the day, then find terrain that delivers it. A couple drawn to still water and reflection will gravitate toward alpine lakes, while those chasing height and exposure will look to ridgelines and glaciers.
The strongest destination elopement location is the one that matches your appetite for adventure, not simply the most photographed spot on a feed. Ask how far you are willing to hike, whether you want privacy or quick access and how the backdrop reads against your attire.
Reading the Seasonal Window
Every region has a narrow window where weather, daylight and color align, and in the mountains it can run as short as six to eight weeks. Snow lingers on high passes into July, and afternoon storms build quickly in late summer. A shoulder-season date trades a higher chance of cloud for thinner crowds and softer light.
Weigh these factors before you commit to a month:
- Trail and road access, since many high routes stay closed until early summer
- Average daytime temperature and overnight lows at elevation
- Sunrise and sunset times, which shape your ceremony slot
- Crowd levels at popular sites, heaviest in July and August
- Wildfire and smoke risk, which peaks in late summer across the region
Access, Travel Time and Elevation
A beautiful spot three hours from the nearest town reshapes the whole day. Factor drive time, trail length and elevation gain into the schedule early, so the ceremony hour stays realistic once you are on the ground.
The Permit Timeline Most Guides Skip
Here is the detail that trips couples up. Ceremony sites often sit inside national or provincial parks, and those places run on their own slow clock.
Special-Use Approvals and Filing Windows
Sound destination elopement planning treats that clock as the first hard deadline, well before the date is fixed. Most parks require written approval for any organized gathering, and the application can open months out and close weeks before you arrive.
Some sites cap how many weddings run per day, so a coveted lookout can be spoken for a full season ahead. Confirm the issuing office, the fee and the earliest submission date before you book flights, and leave room for a refusal and a backup spot.
Group-Size Caps and Where They Apply
Protected land also limits how many people can gather at a given point, and the ceiling tightens in fragile alpine zones. A party of twenty can be welcome at a roadside meadow yet turned away on a ridgeline. Check the rules for your exact spot early, since that number can quietly redraw your entire guest list.
Ask each park office these questions before committing:
- What is the maximum group size at this exact location?
- Which document covers a wedding rather than general day use?
- How far ahead can you apply, and when does the window close?
- Are drones, chairs or arches restricted here?
The Two Approvals Couples Confuse
Approval to hold the ceremony and approval to shoot it commercially are two different documents in many parks. A photographer working legally in the area already carries the commercial one, which spares you a filing step and a compliance risk on the day.
Working With an Adventure Photography Team
The plan only works if the people running it know the ground. In remote terrain your photographer often doubles as the day's guide, and that overlap quietly reshapes the logistics.
Why a Guide Behind the Camera Changes Everything
The best destination elopement ideas are the ones a local team can actually deliver, not just picture. Someone with mountain-guiding experience reads trail conditions, weather windows and light in a single glance, then folds route safety and timing into the creative plan.
Husband-and-wife teams working the Canadian Rockies tend to work this way, and you gain a partner who has stood on the spot at your ceremony hour and knows when the sun clears the ridge. A guide behind the camera and a standard photographer approach the same day very differently.
Task: Route Planning
Standard Photographer: Relies on couple or map
Guide-Photographer: Scouts and leads the route
Task: Weather calls
Standard Photographer: Limited
Guide-Photographer: Reads local patterns firsthand
Task: Approvals
Standard Photographer: Often the couple's job
Guide-Photographer: Usually holds the commercial one
Task: Timeline Control
Standard Photographer: Reactive
Guide-Photographer: Built around light and terrain
The right pairing removes guesswork and keeps the day moving safely.
Building the Day Around the Light
Set the vows to the light, then work backward. Hike time, a weather buffer and portrait windows all slot around that fixed point.
Pro Tip: Block a thirty-minute weather buffer before the ceremony. In alpine terrain a passing cloud bank can change the light entirely, and that margin saves the moment.
One Document to Carry It All
Every choice above should collapse into one document you can carry. A single destination elopement checklist, covering permits, timing, attire and travel, turns months of preparation into a calm, stress-free wedding day.
Getting the Sequence Right From Day One
Planning a remote ceremony rewards couples who respect the order of operations. Setting and season frame the day, approval timelines set the pace and the right team keeps everything safe and on schedule. Handle the slow-moving pieces first, and the rest stops feeling like a scramble. Get that sequence right, and you travel from a scattered idea to a calm morning in the mountains, which is the whole reason to map the plan out before booking a single flight.
are you a bride or groom-to-be?
We'd love to plan with you on weddingday-online.com. Let's get started!
are you a wedding extraordinaire?
Join WeddingDay Magazine in inspiring brides by partnering with us! See how here.



Dreamy Chicagoland Shoot
Allyson Hutchison | November 4, 2021

A Chicago Beach Style Shoot
Allyson Hutchison | October 19, 2021

A Roller Rink Elopement
Allyson Hutchison | March 16, 2023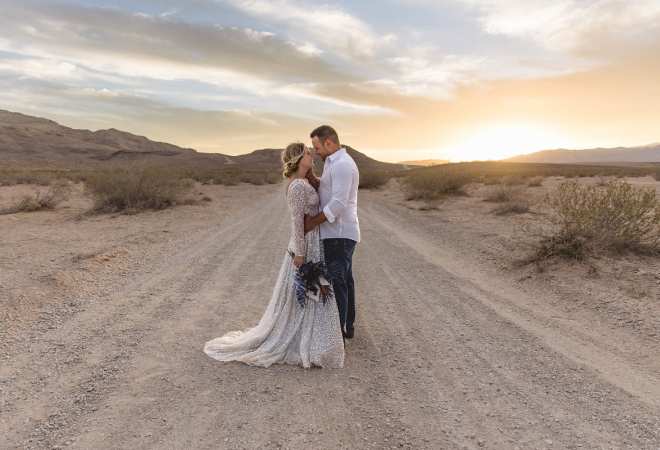
A Las Vegas Elopement
Allyson Hutchison | September 22, 2022

Glamping Style Shoot
Allyson Hutchison | November 18, 2021
Join the conversation
Log in or register to post comments